Java 打包JAR檔並轉成EXE檔
我們都知道Java可以將二進位制程式打包成可執行jar檔案,雙擊這個jar和雙擊exe效果是一樣一樣的,但感覺還是不同。其實將java程式打包成exe也需要軟體來執行,這篇將會介紹如何把JAR轉成EXE。
文章目錄
- 創建一個Main方法為入口點
- 設置Artifacts
- 創建JAR檔&使用Java命令行執行
- 下載exe4j軟體
- exe4j必要設定
- 備註
1.創建一個Main方法為入口點
import javax.swing.*;
import java.awt.*;
import java.net.URI;

public class WindowCreate {

    static JFrame frame;
    static JButton iconButton;
    static JButton finishButton;
    static JLabel descriptionLabel;
    static JLabel nameLabel;
    static JLabel statusLabel;
    static JTextField descriptionField;
    static JTextField nameField;

    public static void main(String[] args) {
        frame = new JFrame("我是標題");

        iconButton = new JButton();
        iconButton.setIcon(new ImageIcon("conf/logo.gif"));
        iconButton.setBorderPainted(false);
        iconButton.setBackground(Color.decode("#EEEEEE"));
        iconButton.addActionListener(e -> {
            try {
                Desktop desktop = Desktop.getDesktop();
                URI uri = new URI("https://www.youtube.com/results?search_query=%E5%B0%8F%E7%A4%A6%E5%B7%A5%E6%8C%96%E6%8C%96%E7%A4%A6");
                desktop.browse(uri);
            } catch (Exception ex) {
                ex.printStackTrace();
            }
        });

        JPanel panel = new JPanel();
        panel.setBackground(Color.decode("#EEEEEE"));
        panel.add(iconButton);

        JPanel panel2 = new JPanel();
        panel2.setBackground(Color.decode("#EEEEEE"));
        descriptionLabel = new JLabel("NFT  作品介紹");
        descriptionField = new JTextField(16);
        panel2.add(descriptionLabel);
        panel2.add(descriptionField);

        JPanel panel3 = new JPanel();
        panel3.setBackground(Color.decode("#EEEEEE"));
        nameLabel = new JLabel("NFT 作品名稱");
        nameField = new JTextField(16);
        panel3.add(nameLabel);
        panel3.add(nameField);

        JPanel panel4 = new JPanel();
        panel4.setBackground(Color.decode("#EEEEEE"));
        finishButton = new JButton();
        finishButton.setBorderPainted(false);
        finishButton.setBackground(Color.decode("#EEEEEE"));
        finishButton.setIcon(new ImageIcon("conf/start.gif"));
        finishButton.addActionListener(e -> {
            if (descriptionField.getText().isEmpty()) {
                statusLabel.setText("請輸入作品介紹");
                return;
            }
            if (nameField.getText().isEmpty()) {
                statusLabel.setText("請輸入作品名稱");
            }
        });
        panel4.add(finishButton);

        JPanel panel5 = new JPanel();
        panel5.setBackground(Color.decode("#EEEEEE"));
        statusLabel = new JLabel("");
        panel5.add(statusLabel);

        frame.getContentPane().setLayout(new FlowLayout(FlowLayout.CENTER));
        frame.add(panel);
        frame.add(panel2);
        frame.add(panel3);
        frame.add(panel4);
        frame.add(panel5);

        frame.setResizable(false);
        frame.setIconImage(new ImageIcon("conf/icon.png").getImage());
        frame.setDefaultCloseOperation(JFrame.EXIT_ON_CLOSE);
        frame.setSize(380, 500);
        frame.setLocationRelativeTo(null);
        frame.setVisible(true);
    }
}
2.設置Artifacts
a.File > Project Structure > Artifacts

b.選擇JAR
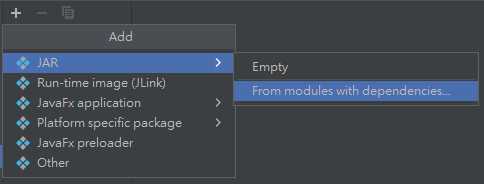
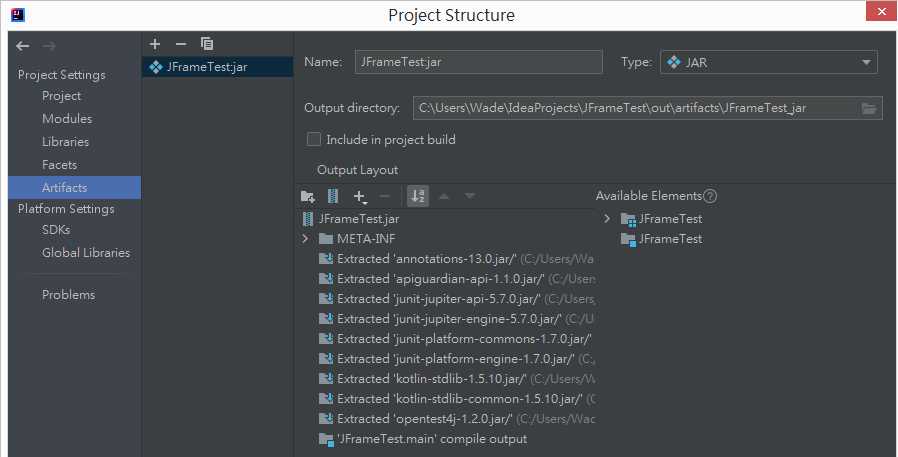
c.選擇Main Class當作主入口&MANIFEST.MF儲存路徑
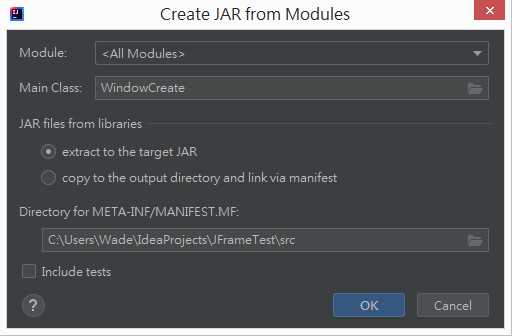
d.完成設置
3.創建JAR檔&使用Java命令行執行
a.Build > Build Artifacts
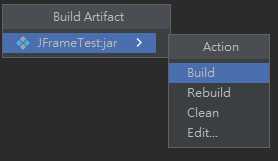
b.存放路徑out\artifacts\JFrameTest_jar

c.命令行執行
java -jar .\NFT_Creator.main.jar
d.執行結果
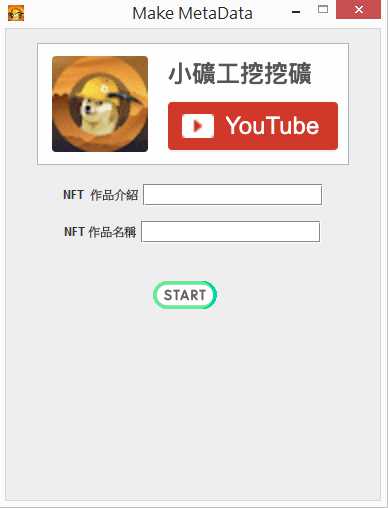
4.下載exe4j軟體
exe4j軟體
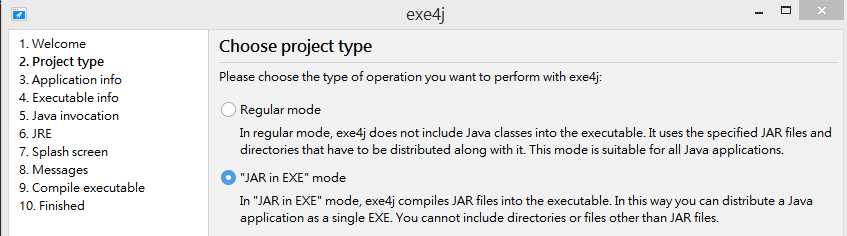
5.exe4j必要設定
選擇下方EXE
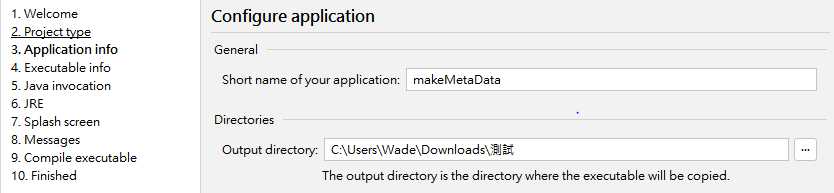
EXE輸出資料夾
EXE輸出檔名與logo配置
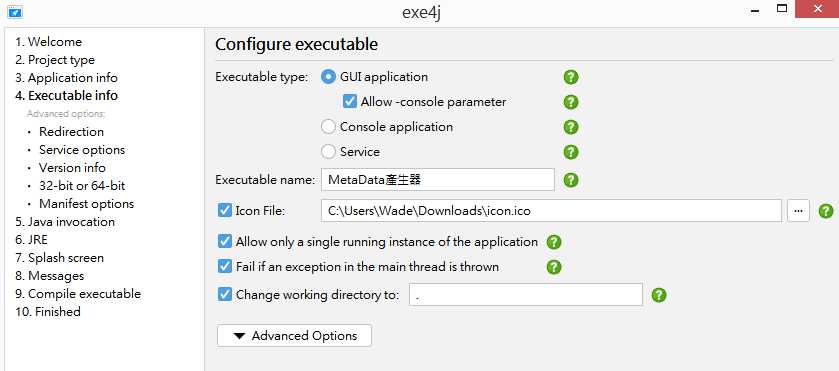
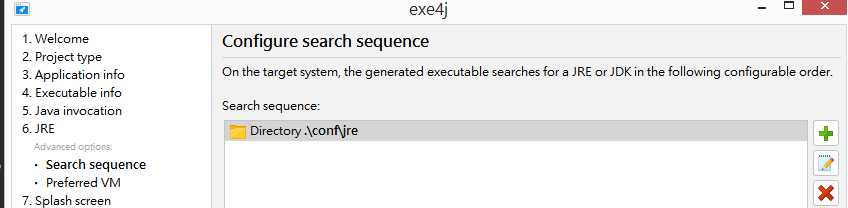
設定JRE環境 主入口

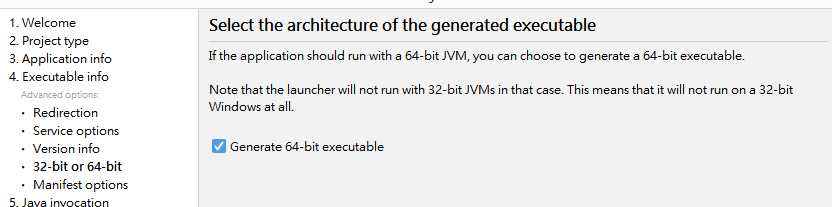
生成64位元
設定JRE環境才能執行
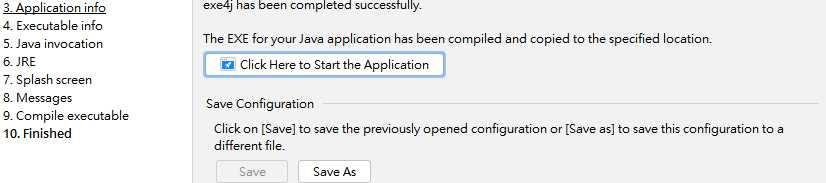
輸出EXE
6.備註
如果有使用到圖片以及環境都要放置在EXE能夠讀取到的資料夾,否則UI顯示不出來。