👐 1")
Swift Google 登入 Firebase 第三方串接完全教學(2025 最新版)👐
簡介
在iOS應用程式中,使用Google登入已成為一項基本功能。Firebase作為一個整合第三方登入的強大工具,讓開發者可以輕鬆實現Facebook、Instagram等多種登入方式。本文將教你如何在Swift中實作Google登入,並使用Firebase進行身份認證。
環境設定
在開始之前,確認你已經安裝了以下兩個pods:
“`swift
pod ‘GoogleSignIn’
pod ‘Firebase/Analytics’
“`
執行以下命令安裝:
“`swift
pod install
“`
接著,前往 [Firebase 創專案](https://firebase.google.com/?platform=ios&cntapi=signin&cntapp=Default+Demo+App&cntpkg=com.google.samples.quickstart.SignInExample&cnturl=https%3A%2F%2Fdevelopers.google.com%2Fidentity%2Fsign-in%2Fios%2Fstart%3Fver%3Dswift%26configured%3Dtrue&cntlbl=Continue+with+Try+Sign-In) 創建一個專案並配置Google登入。
步驟詳解
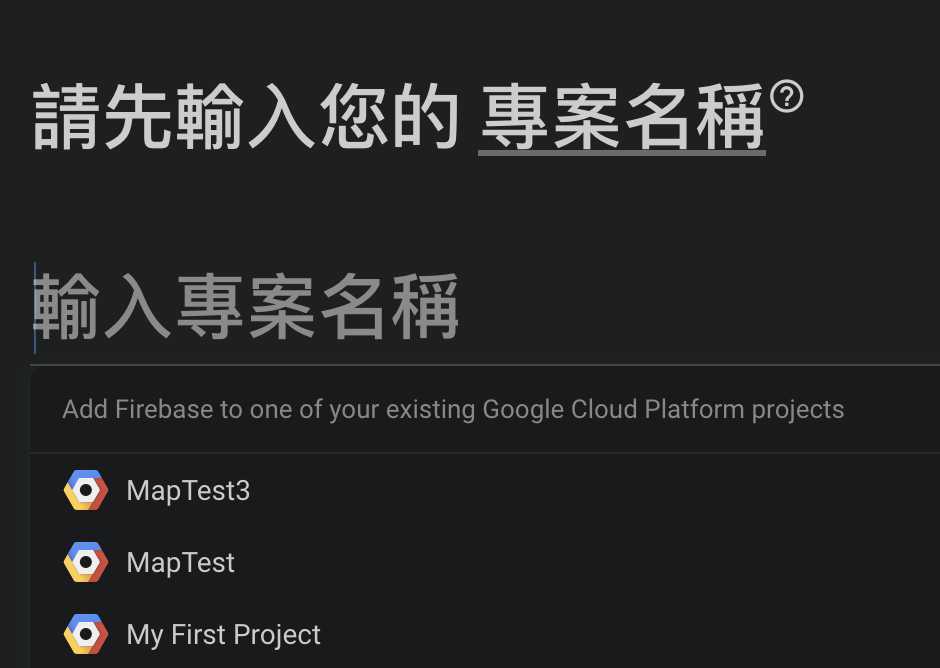
1. 創建 Firebase 專案
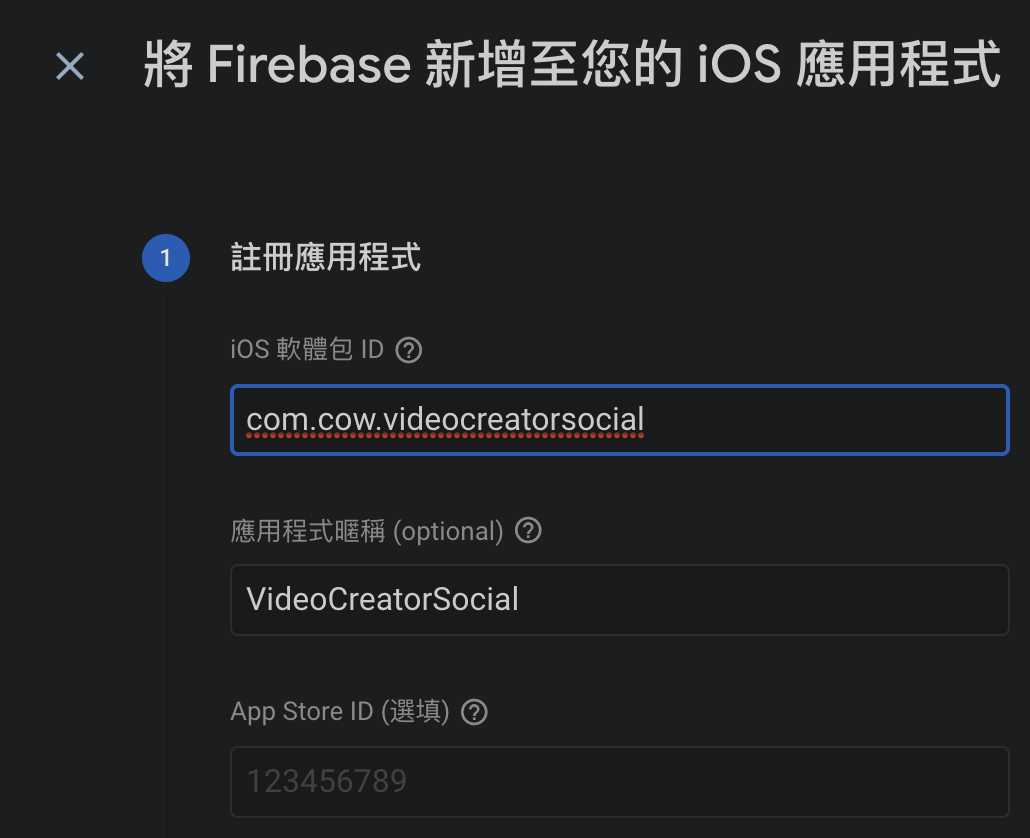
2. 添加 iOS 專案
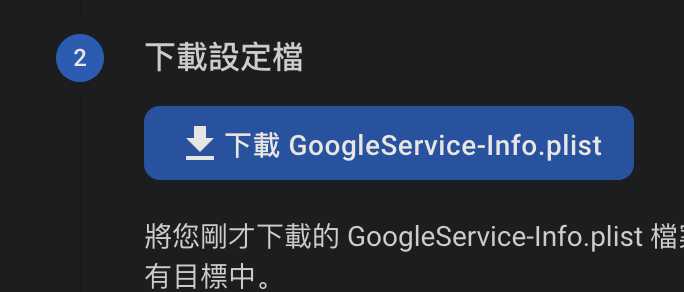
3. 下載設定檔
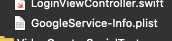
4. 新增到 Xcode
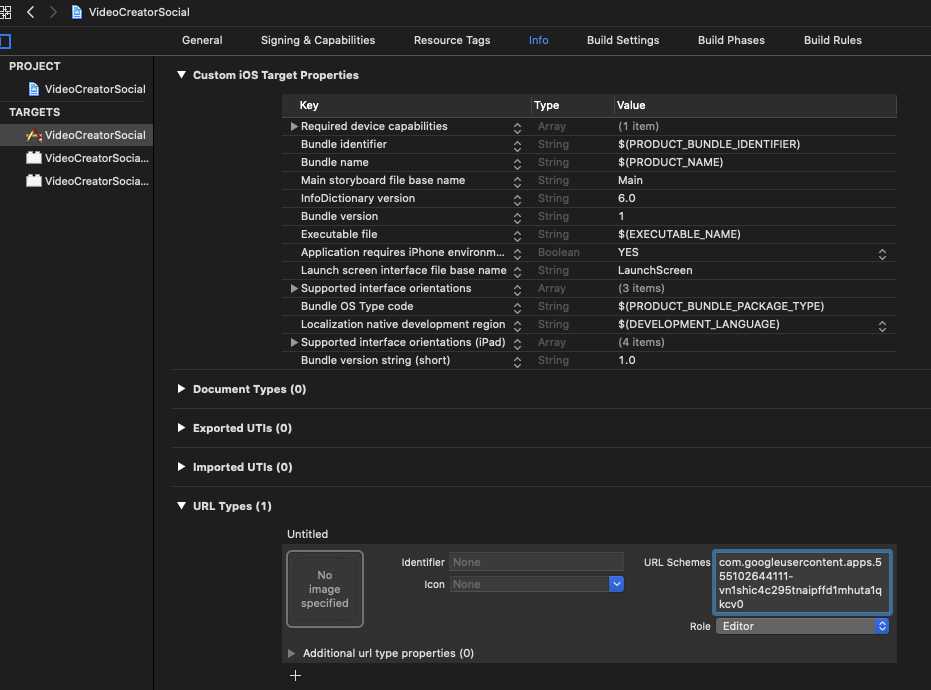
5. 複製 GoogleService-Info.plist 中的 REVERSED_CLIENT_ID

6. 到 Info.plist 中新增 URL Types
7. 在 AppDelegate 中新增 GIDSignInDelegate

8. AppDelegate 設定
在 `applicationDidFinishLaunching` 中初始化 GIDSignIn:
“`swift
import GoogleSignIn
import Firebase
@UIApplicationMain
class AppDelegate: UIResponder, UIApplicationDelegate, GIDSignInDelegate {
var window: UIWindow?
func application(_ application: UIApplication, didFinishLaunchingWithOptions launchOptions: [UIApplication.LaunchOptionsKey: Any]?) -> Bool {
FirebaseApp.configure()
GIDSignIn.sharedInstance().clientID = FirebaseApp.app()?.options.clientID
GIDSignIn.sharedInstance().delegate = self
return true
}
@available(iOS 9.0, *)
func application(_ app: UIApplication, open url: URL, options: [UIApplication.OpenURLOptionsKey : Any]) -> Bool {
return GIDSignIn.sharedInstance().handle(url)
}
}
“`
9. 實作登入事件
在 `LoginViewController` 中新增登入按鈕與事件處理:
“`swift
import UIKit
import GoogleSignIn
class LoginViewController: UIViewController, GIDSignInDelegate {
override func viewDidLoad() {
super.viewDidLoad()
GIDSignIn.sharedInstance().presentingViewController = self
GIDSignIn.sharedInstance().delegate = self
let signInButton = GIDSignInButton()
signInButton.center = self.view.center
self.view.addSubview(signInButton)
}
func sign(_ signIn: GIDSignIn!, didSignInFor user: GIDGoogleUser!, withError error: Error!) {
if let error = error {
print(“登入失敗: \(error.localizedDescription)”)
return
}
// 獲取使用者資訊
let userId = user.userID
let idToken = user.authentication.idToken
let email = user.profile.email
// 使用 Firebase 登入
guard let authentication = user.authentication else { return }
let credential = GoogleAuthProvider.credential(withIDToken: authentication.idToken, accessToken: authentication.accessToken)
Auth.auth().signIn(with: credential) { (authResult, error) in
if let error = error {
print(“Firebase 登入錯誤: \(error.localizedDescription)”)
return
}
// 成功登入
print(“使用者 \(email) 成功登入”)
}
}
}
“`
錯誤處理
– **403錯誤**:確保在Firebase控制台的Authentication部分啟用Google登入。
– 確保你的OAuth 2.0客戶端ID與Firebase專案中的配置相符。
Q&A(常見問題解答)
Q1: 如何解決登入過程中的錯誤?
A1: 檢查Firebase控制台中Google登入是否啟用,並確保你的App ID和OAuth設定正確。
Q2: 如何在登入後獲取使用者資料?
A2: 使用GoogleSignIn的`didSignInFor`回調中的`user`對象可以獲取使用者的資訊,如email和名稱。
Q3: Firebase與Google登入的安全性如何保障?
A3: Firebase使用OAuth 2.0標準進行身份驗證,並提供安全的令牌交換過程,確保資料的安全性。
—