“`html
如何在 2025 年使用 Python 獲取 Line Notify 授權 – 完整指南 🦖
簡介
Line Notify 怎麼授權?
使用者在使用 Line Bot 時若需 Line Notify 功能,手動添加客服可能會太麻煩。透過一條連結可以直接達成 Line Bot 與 Line Notify 的連動效果。本篇文章將提供 Python 的範例,並講解完整流程。
一、Line Notify 申請
1. 至 Line Notify 官網管理登入服務
點擊右上角名稱 -> 管理登入服務

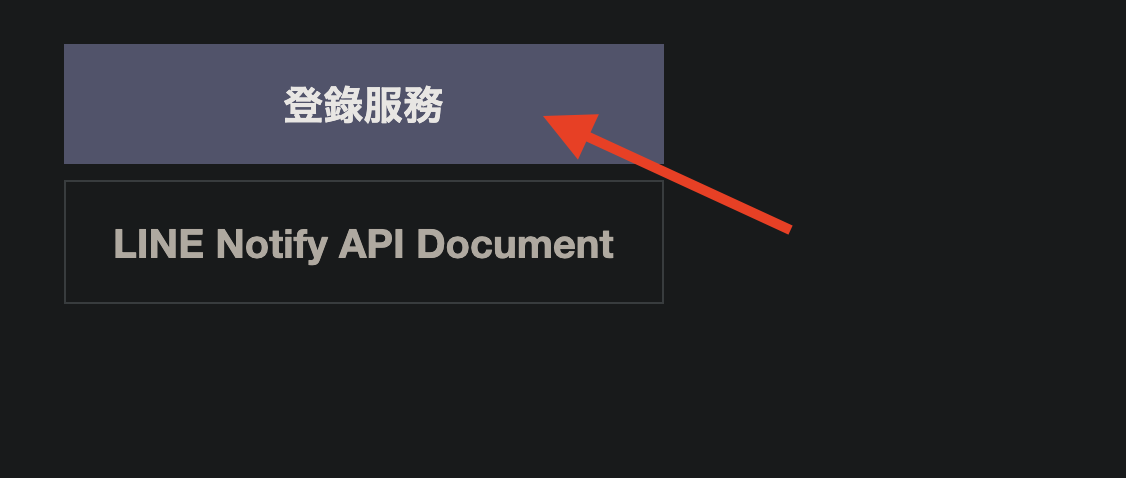
2. 點選登入服務
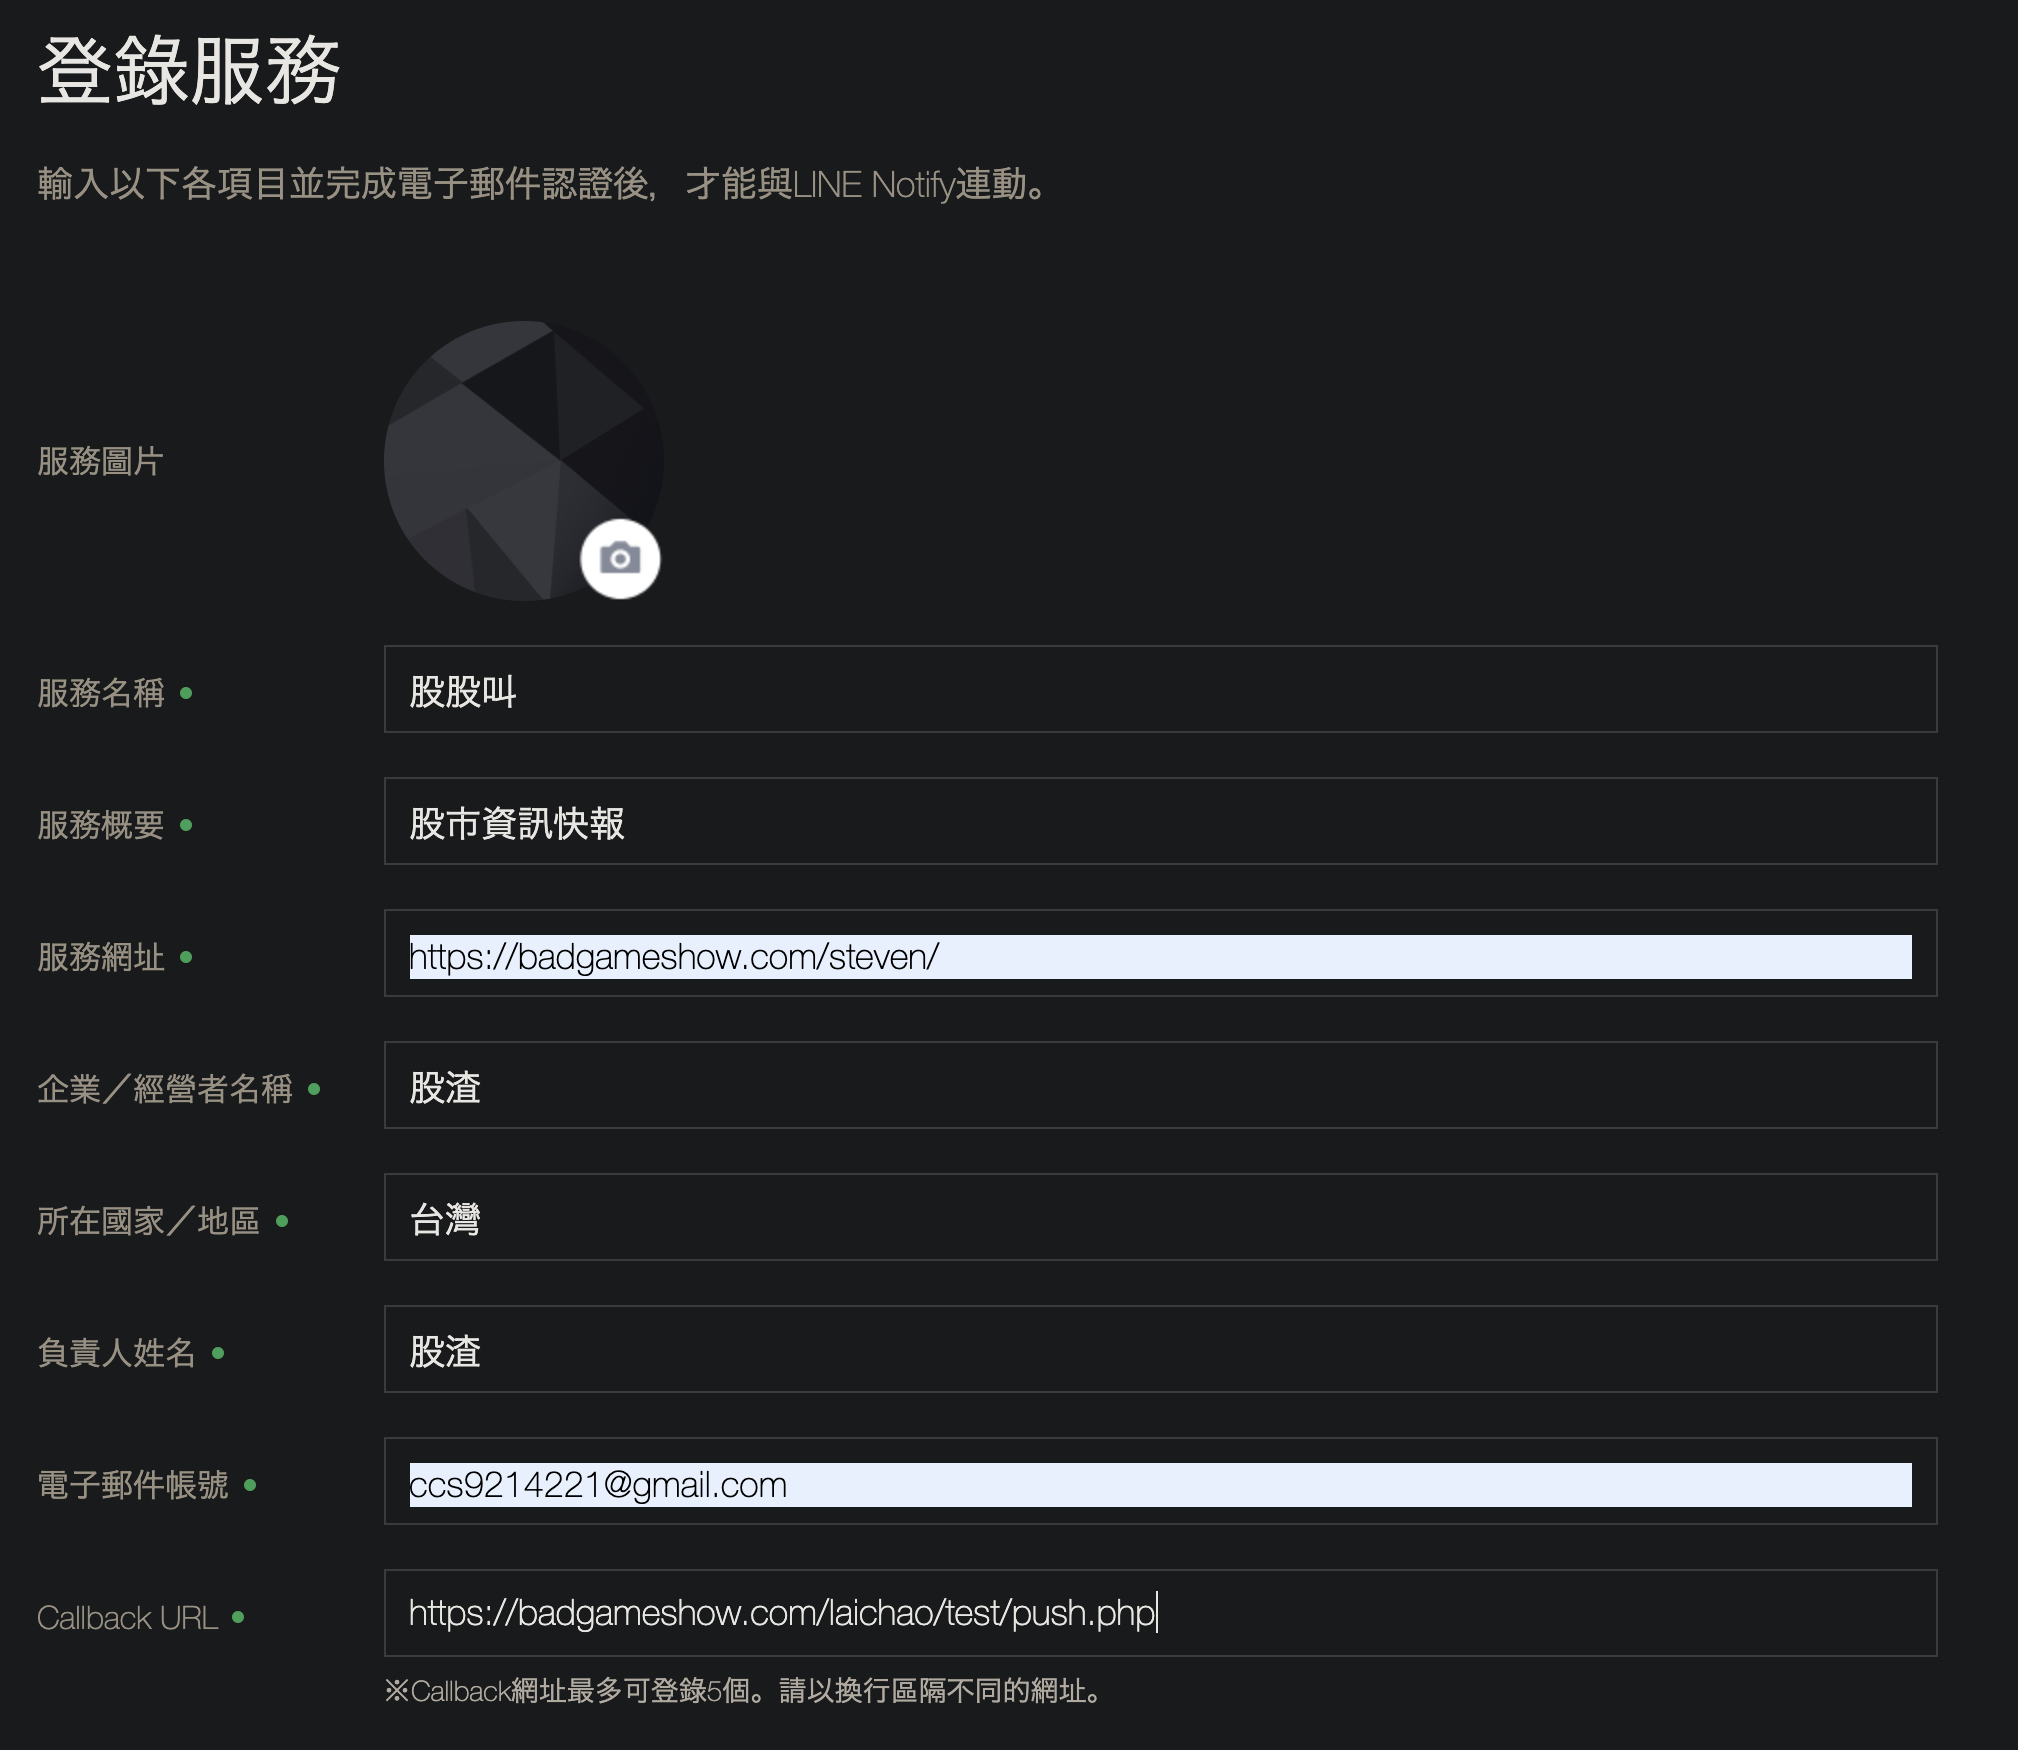
3. 填寫 Line Notify 登入服務基本資料
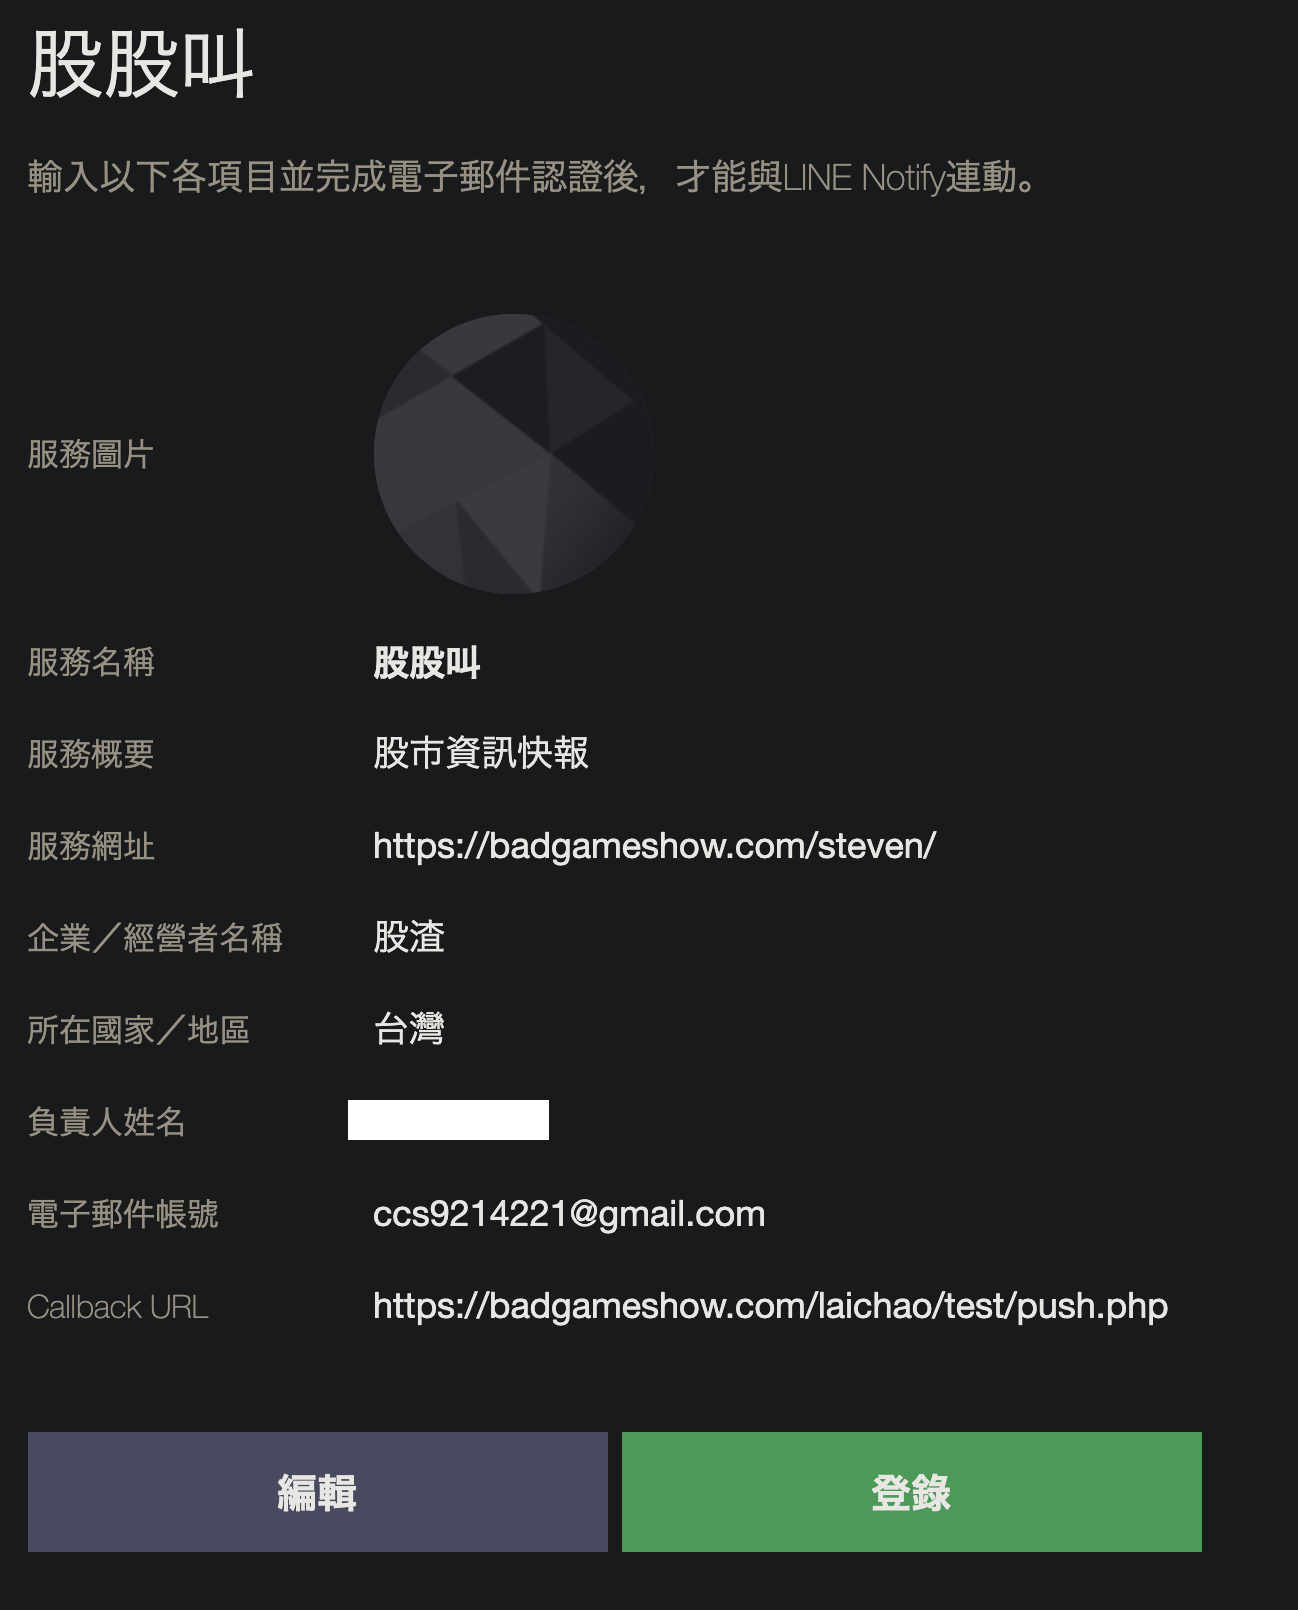
完成後點擊登入
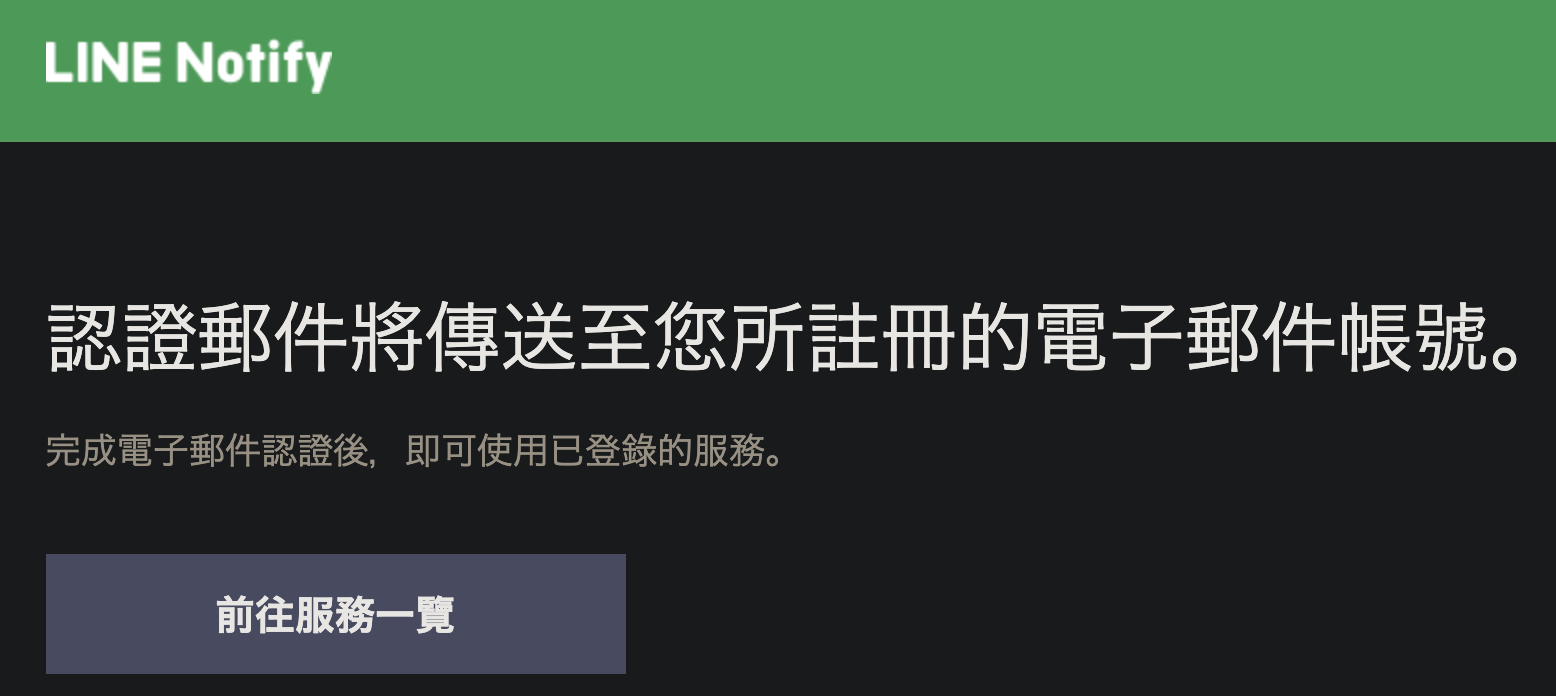
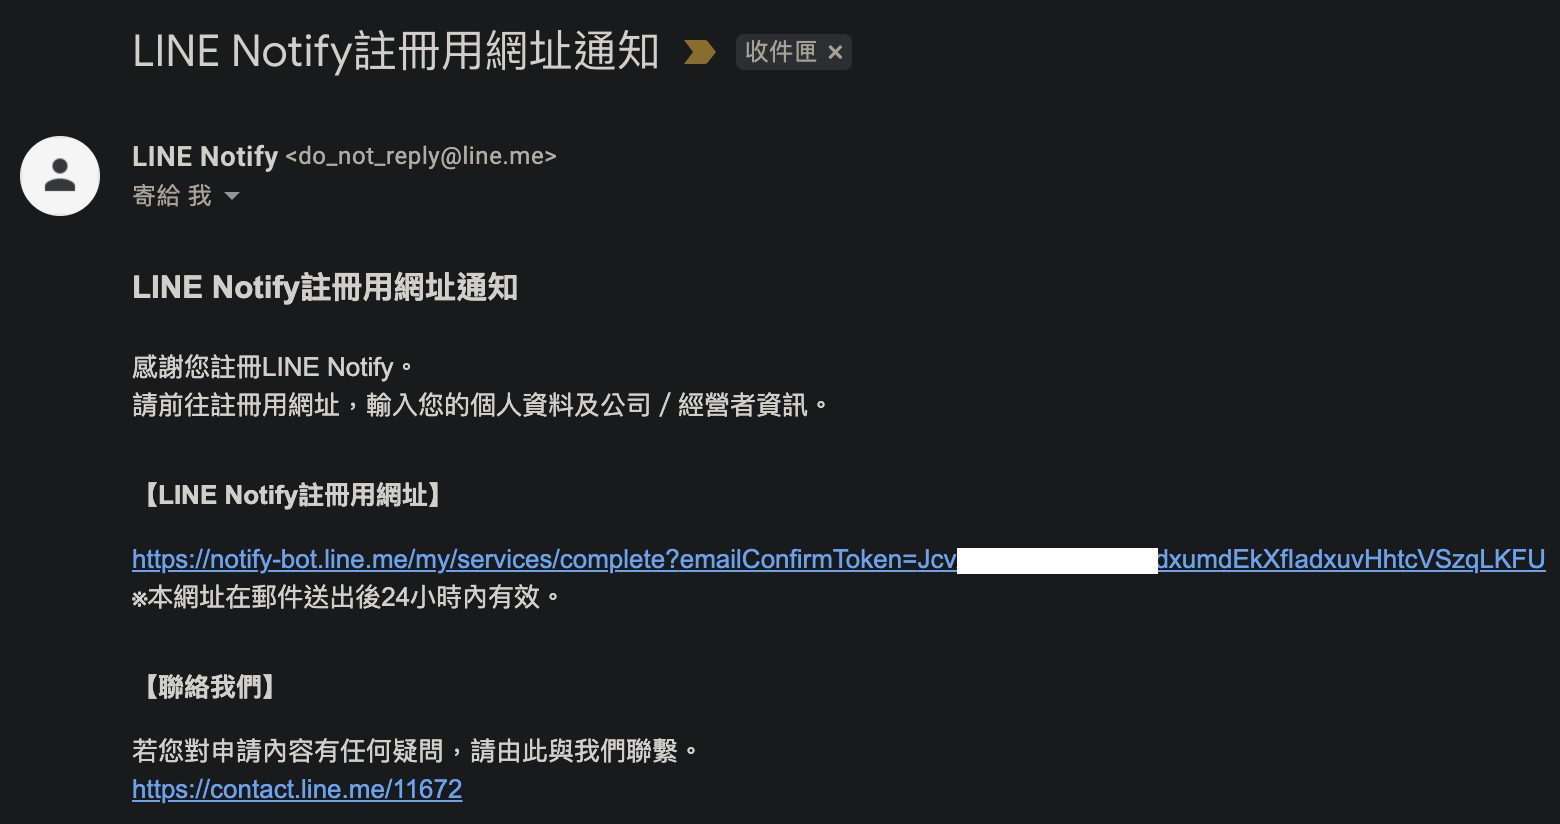
4. 完成電子郵件認證
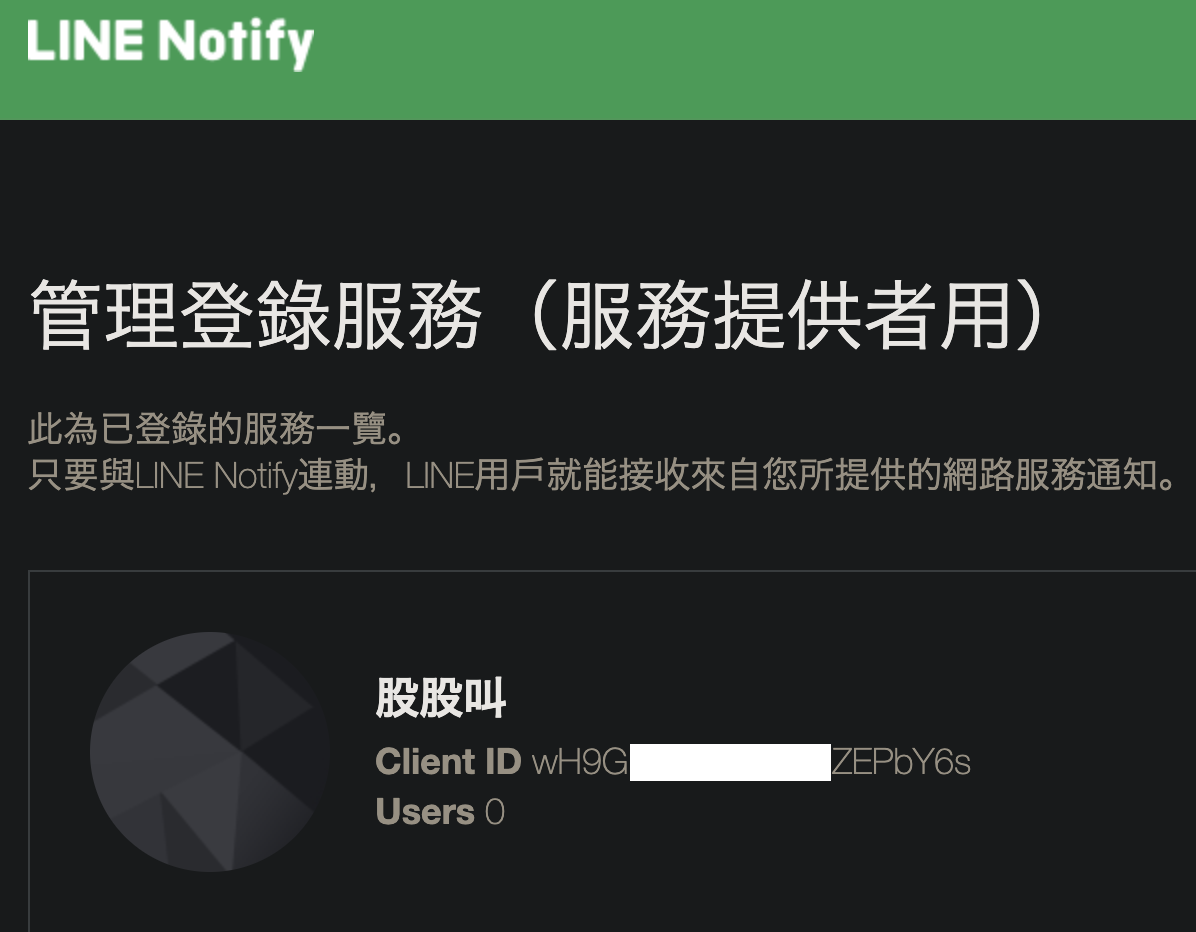
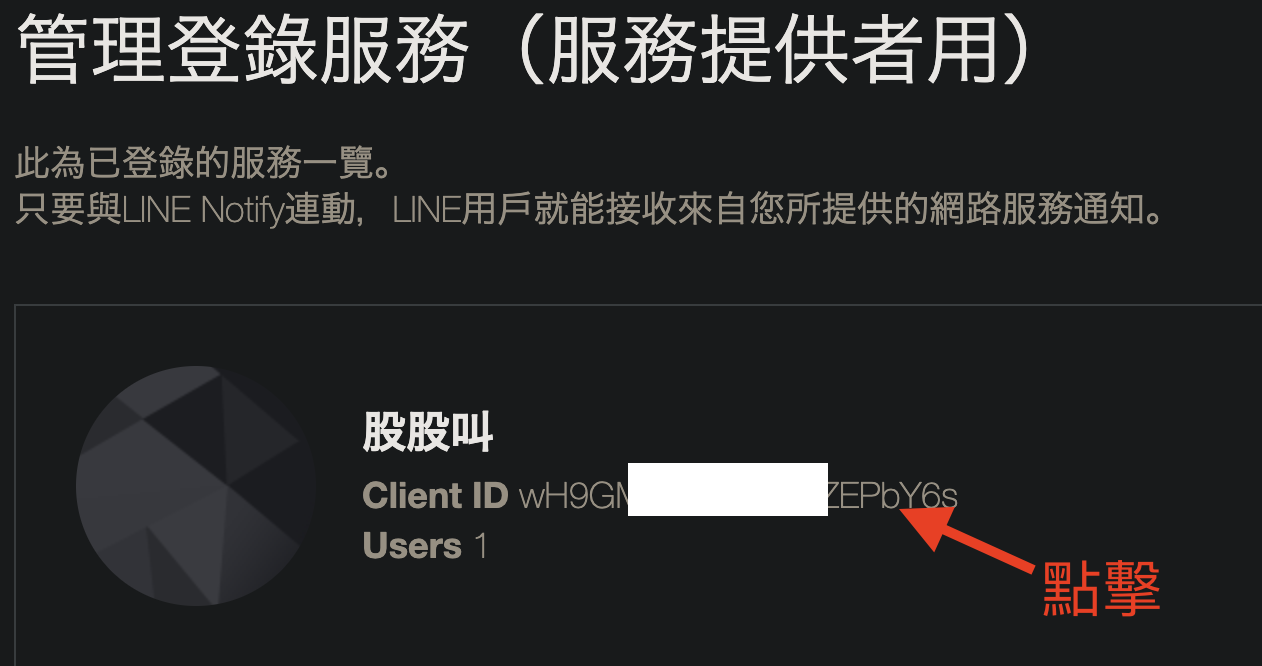
5. 獲取 Line Notify client id
二、製作 Line Notify 點擊授權網址
authorize API 參數
API 網址 : https://notify-bot.line.me/oauth/authorize
- response_type : 設置為 code
- scope : 設置為 notify
- response_mode : 設置為 form_post
- client_id : 你申請的 client_id
- redirect_uri : Call Back 網址
- state : 用於避免 CSRF 攻擊的參數
API 參數範例
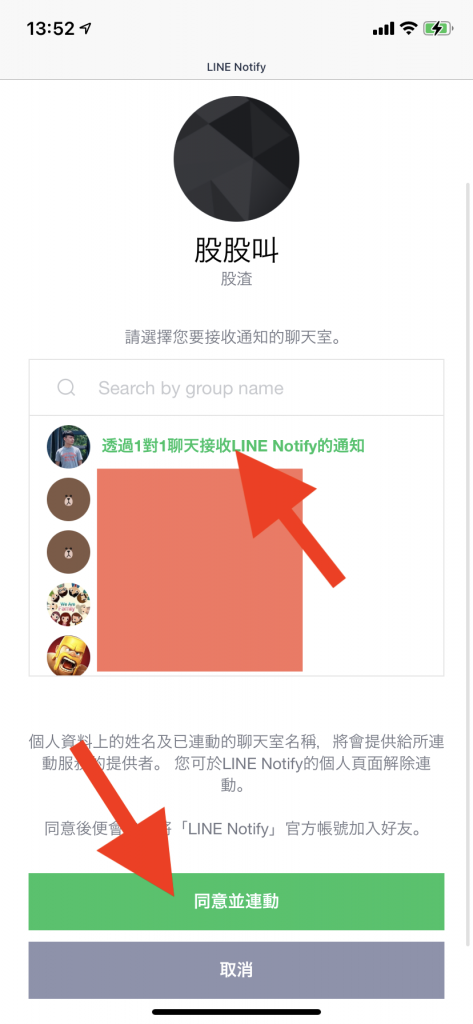
https://notify-bot.line.me/oauth/authorize?response_type=code&scope=notify&response_mode=form_post&client_id=wH9GbY6s&redirect_uri=https://badgameshow.com/laichao/test/push_test.php&state=123
網址點擊效果
三、授權完成 Call back 網址製作
剛剛授權完畢後會呼叫 redirect_uri,這裡使用 Python 來做範例。
Line Notify 取得 access_token API

API 網址 : https://notify-bot.line.me/oauth/token
- grant_type : 固定參數為 authorization_code
- redirect_uri : Call Back 網址
- client_id : 剛剛申請的 Line Notify client_id
- client_secret : 剛剛申請的 Line Notify client_secret
- code : $_POST[“code”] Call Back 回來的資料
呼叫後可以取得 Line Notify 使用的推播 access_token。
Line Notify 推播 API
API 網址 : https://notify-api.line.me/api/notify
- message : 你要傳送的文字
- Header 記得放 Bearer + access_token
Line Notify Python 範例
import requests

def get_access_token(client_id, client_secret, code, redirect_uri):
    url = "https://notify-bot.line.me/oauth/token"
    data = {
        'grant_type': 'authorization_code',
        'redirect_uri': redirect_uri,
        'client_id': client_id,
        'client_secret': client_secret,
        'code': code
    }
    response = requests.post(url, data=data)
    return response.json().get('access_token')

def send_notification(access_token, message):
    url = "https://notify-api.line.me/api/notify"
    headers = {"Authorization": f"Bearer {access_token}"}
    data = {"message": message}
    response = requests.post(url, headers=headers, data=data)
    return response.status_code

# 使用範例
client_id = "wH9GM69ySuHI4PIZEPbY6s"
client_secret = "klv0d7IZdIKb19Xb0ujKMnoWd15xwW3rYb2Hna3Plwh"
code = "你的回傳代碼"
redirect_uri = "https://badgameshow.com/laichao/test/push_test.php"

access_token = get_access_token(client_id, client_secret, code, redirect_uri)
send_notification(access_token, "推播綁定成功")
四、完成效果
更多 Line 技術文章
[教學] Line Notify 推播不求人 – 範例 (Python, PHP, PostMan)
Line Bot 連動 Line Notify (Mac 安裝)
[教學] Line Bot 機器人不求人 – 範例 (Python)
Q&A(常見問題解答)
Q1: 如何處理 Line Notify 授權失敗的問題?
A1: 請檢查 client_id 和 client_secret 是否正確,並確保 redirect_uri 符合 LINE Notify 的要求。
Q2: 使用 Python 發送通知時有什麼提示?
A2: 確保使用 requests 模組並處理可能的 HTTP 請求錯誤,最好在發送通知前進行錯誤處理。
Q3: Line Notify 的使用限制是什麼?
A3: 每個應用每天可發送的訊息數量有上限,具體可以參考 LINE Notify 的官方文檔。
如需進一步了解 Python 技術,請參考這篇文章:用 Python 建構你的 LINE BOT 聊天機器人 — 部署篇
“`
—
