1. 使用 Homebrew 安裝 ngrok
首先,您需要使用 Homebrew 來安裝 ngrok。ngrok 是一個非常有用的工具,可以幫助您快速建立本地開發環境的隧道,讓您的應用程式能夠接收來自互聯網的請求。
brew install --cask ngrok
2. 安裝 Node.js
接下來,您需要安裝 Node.js,它是運行 Line Bot 的基礎環境。
brew install node
3. 下載 Line Bot SDK 範例
訪問官方 GitHub 頁面,下載 Line Bot SDK 的 Node.js 範例,或者使用以下命令直接克隆存儲庫:
git clone https://github.com/line/line-bot-sdk-nodejs.git
4. 移動到 echo-bot 目錄
解壓縮您剛剛下載的範例檔案,然後在終端機中進入 echo-bot 目錄:
cd line-bot-sdk-nodejs/examples/echo-bot
- 安裝所需的 npm 套件:
npm install
5. 複製 Channel Secret
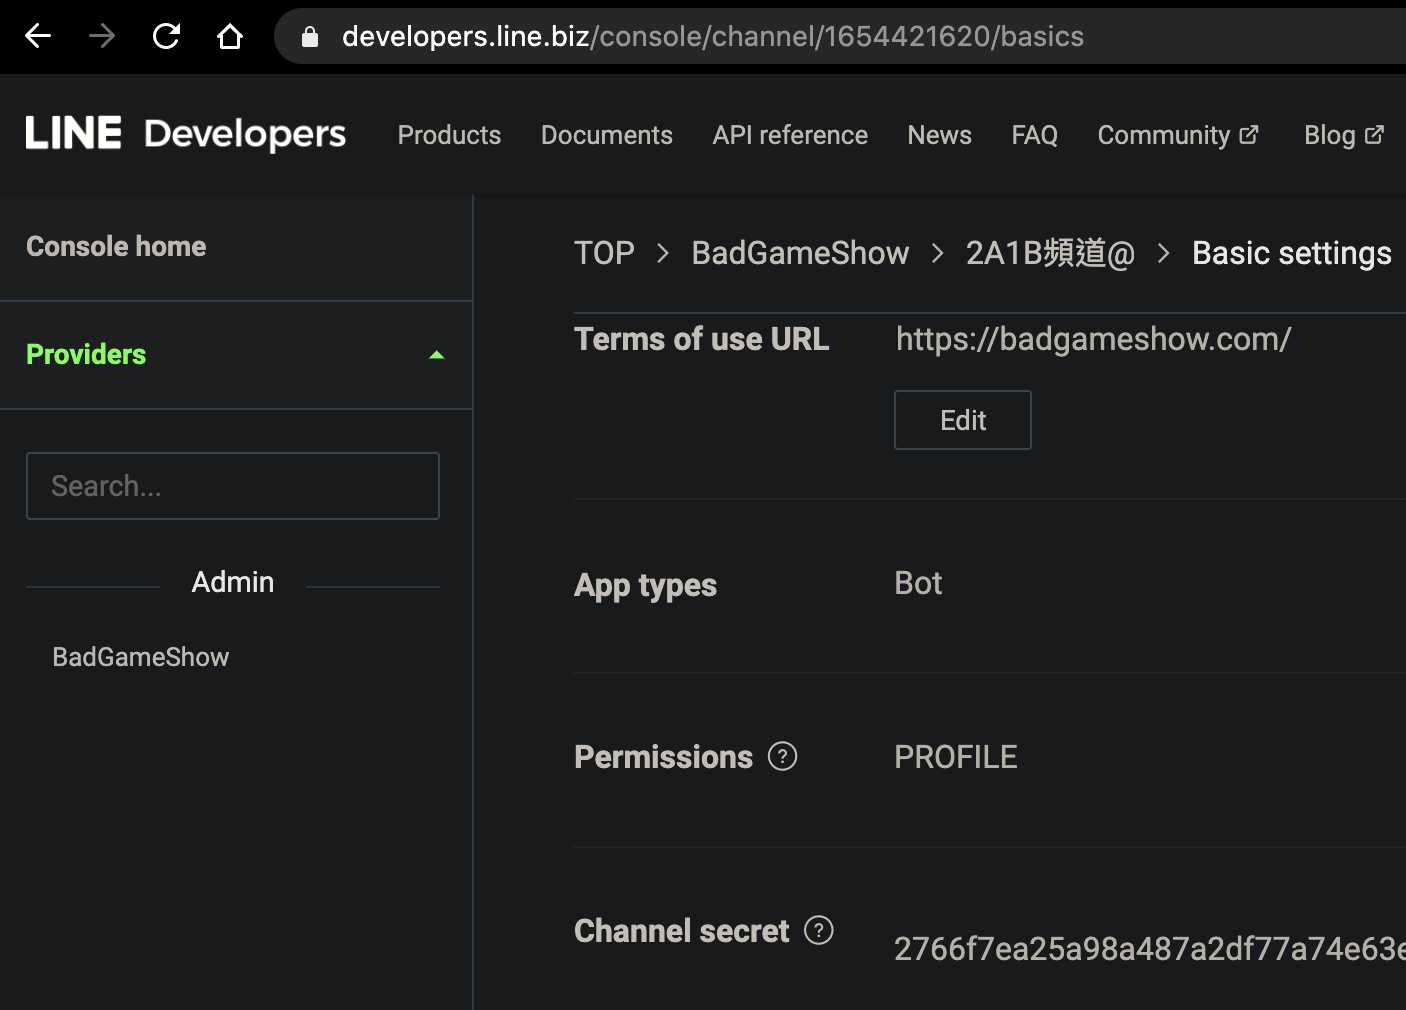
登入 LINE Developers,在 Basic settings 中找到並複製您的 Channel Secret。
- 設置全域變數 CHANNEL_SECRET:
export CHANNEL_SECRET=你的金鑰
6. 複製 Channel Access Token
在 Messaging API 頁面中找到並複製您的 Channel Access Token。
- 設置全域變數 CHANNEL_ACCESS_TOKEN:
export CHANNEL_ACCESS_TOKEN=你的token
7. 設定伺服器的埠號
您可以隨意設定埠號,例如:
export PORT=9999
8. 啟動伺服器
使用以下命令啟動您的伺服器:
npm start
9. 開啟另一個終端機並啟動 ngrok
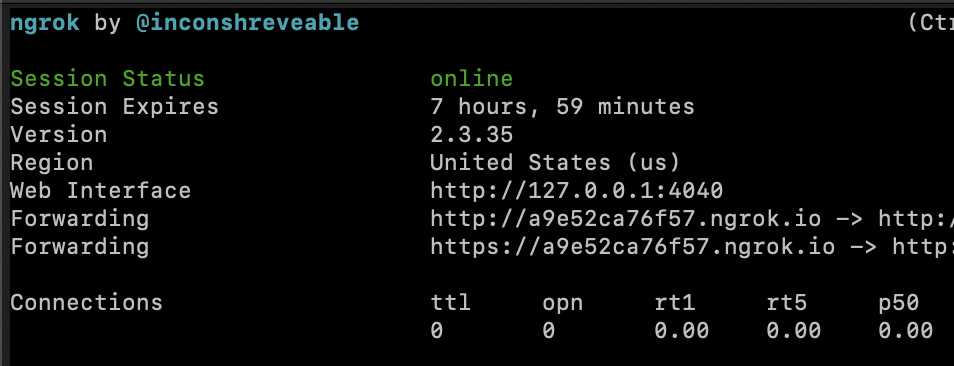
在另一個終端機視窗中啟動 ngrok,並監聽您剛設置的埠號:
ngrok http 9999
記下 ngrok 返回的 URL,例如:
https://a9e52ca76f57.ngrok.io
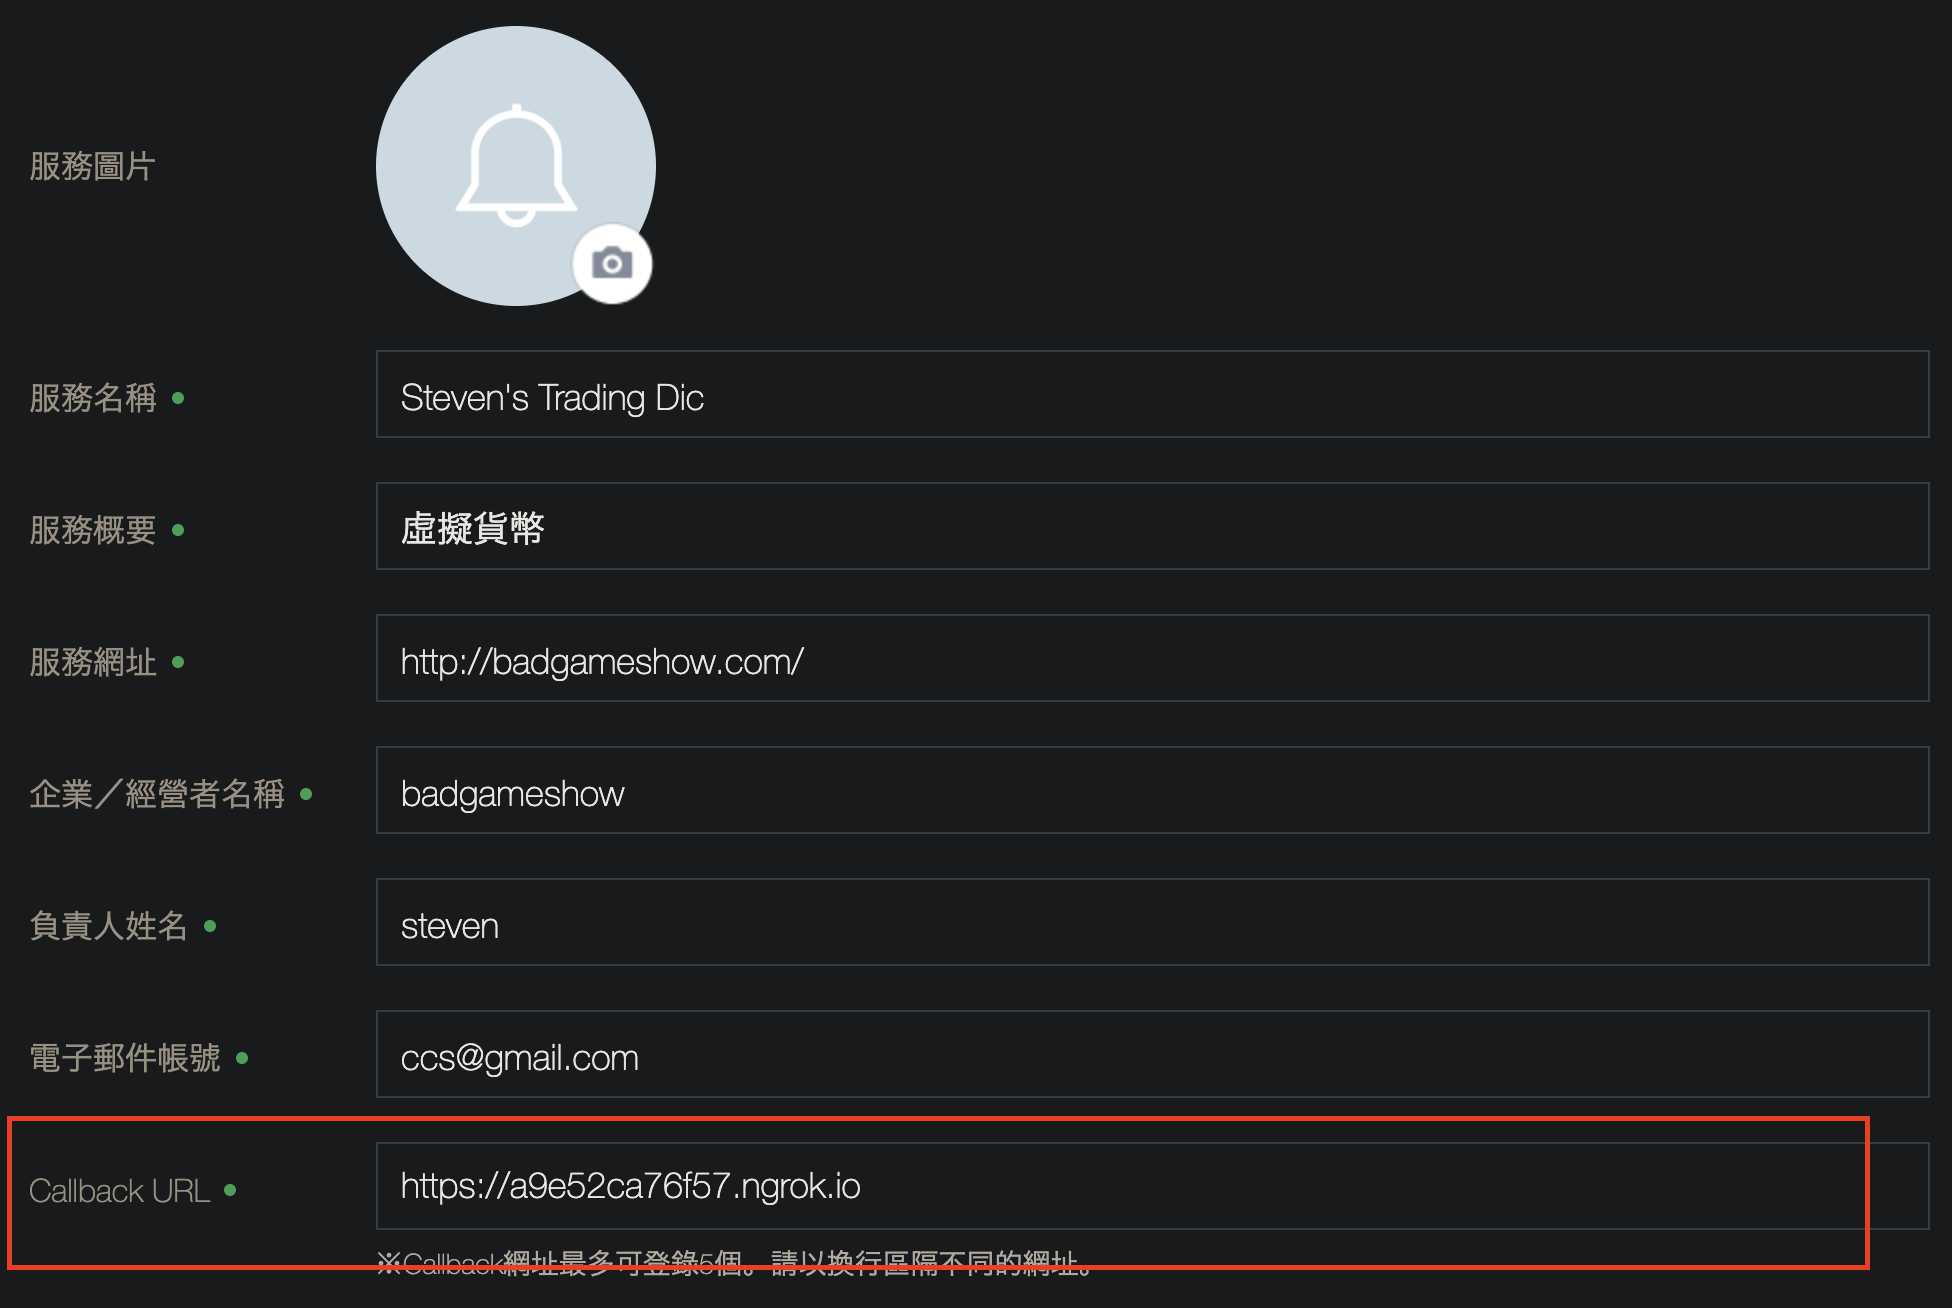
10. 連接 Line Notify
訪問 Line Notify,並將剛記下的 URL 填入 Callback URL 欄位:
11. 製作授權連結
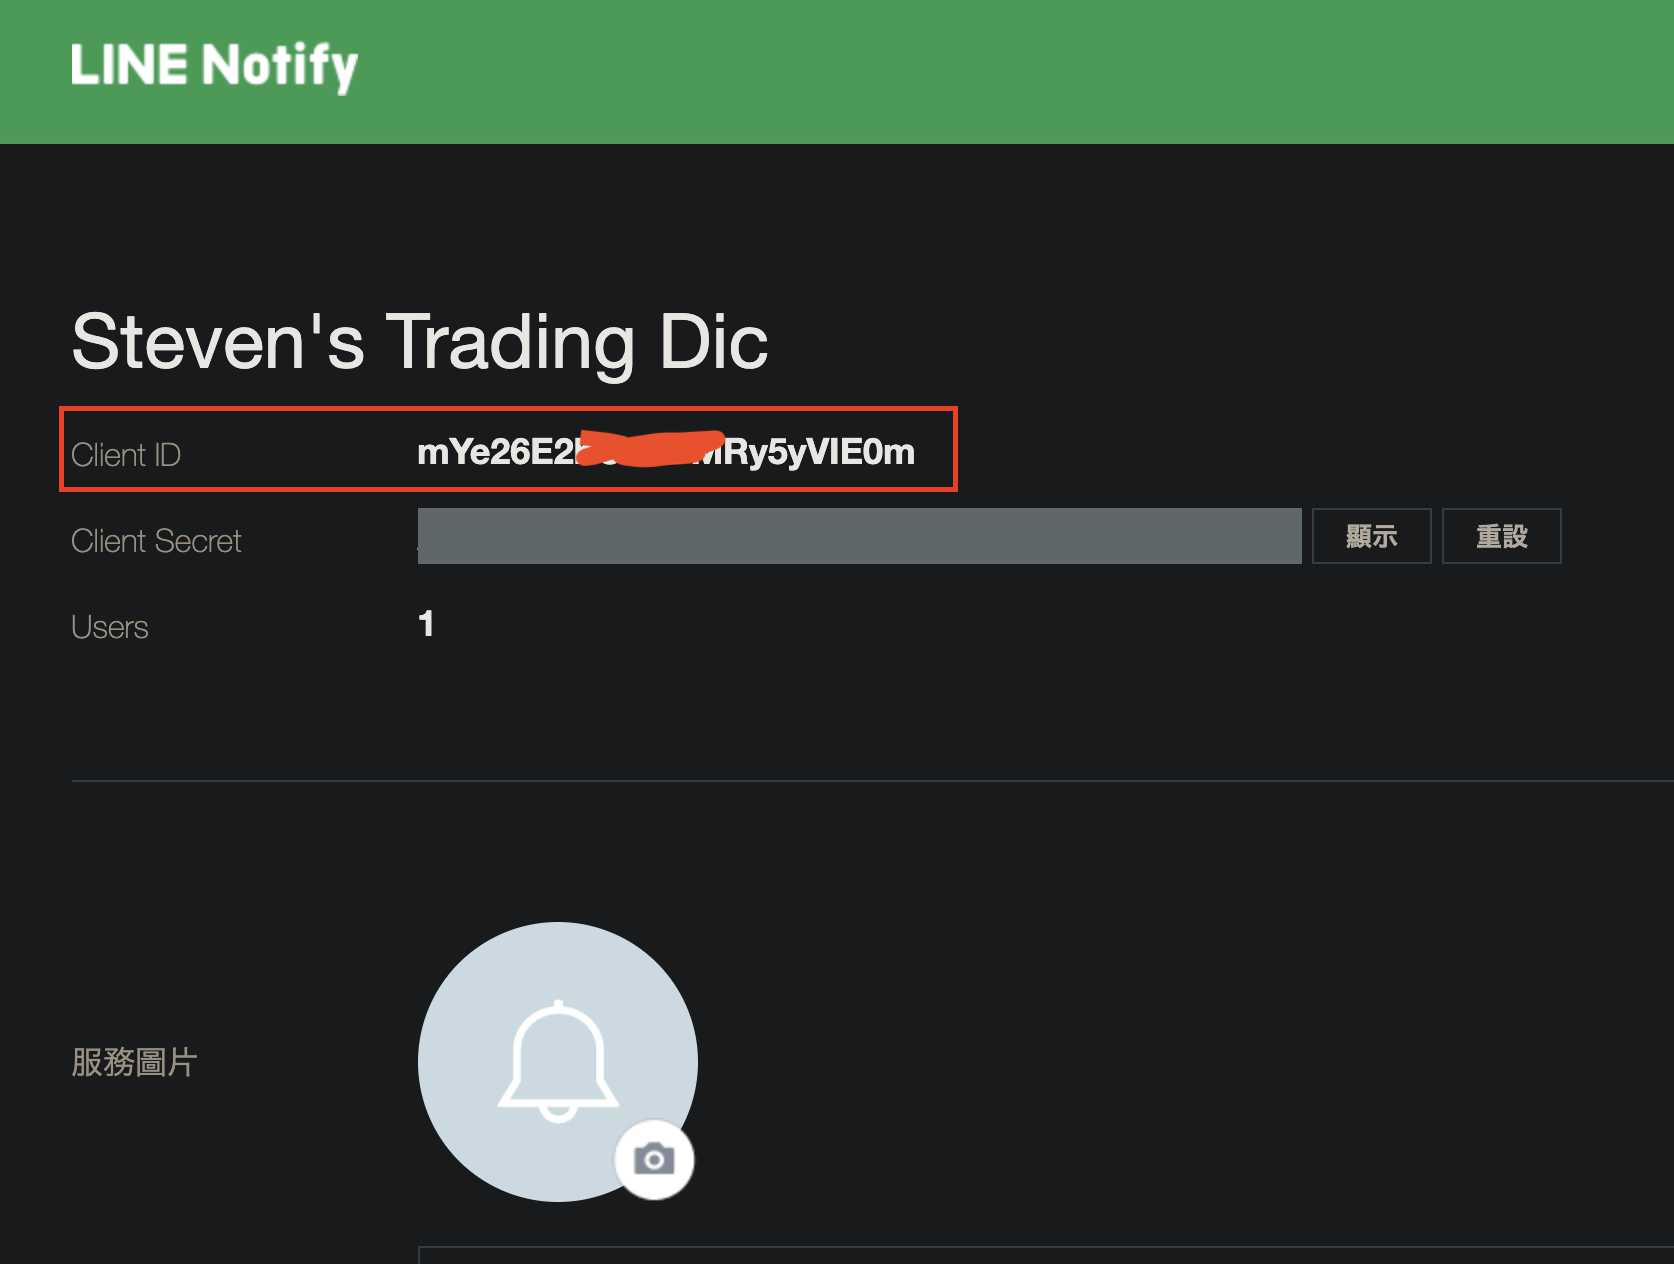
在 Line Notify 的頁面中,記下 Client ID 和 Callback URL:
使用以下格式生成授權連結:
範例
https://notify-bot.line.me/oauth/authorize?response_type=code&scope=notify&response_mode=form_post&client_id=你的ClientID&redirect_uri=你的CallbackURL&state=隨意填寫
12. 點擊連結並授權
授權成功後,LINE 會發送推播通知:
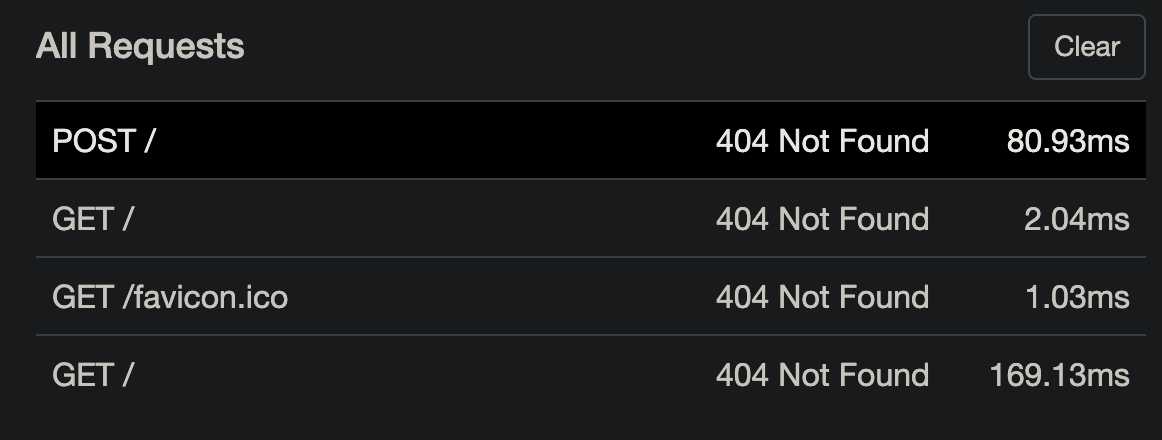
13. 檢查 ngrok 後台的回傳資訊
打開 ngrok 的後台,查看剛剛的回傳資訊:
14. 使用者 Code 轉換成 Access Token
使用以下 API 將使用者的 code 轉換為 access_token:
https://notify-bot.line.me/oauth/token
請求參數包括:
- grant_type=authorization_code
- redirect_uri=你的Callback連結
- client_id=你的ID
- client_secret=LINE Notify 顯示的 client_secret
- code=剛剛使用者的回傳代碼
15. 使用 Access Token 推播訊息
現在您已經擁有 access_token,您可以使用它來透過 LINE Notify 發送推播訊息。更多詳細資訊,請參考我之前的文章。
[教學] Line Notify 推播不求人 – 範例 (Python, PHP, PostMan)
Line Bot 連動 Line Notify (Mac安裝)
[教學] Line Bot 機器人不求人 – 範例 (Python)

